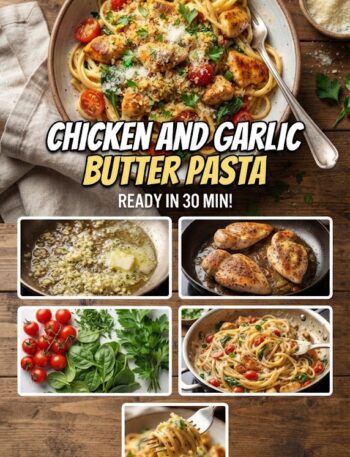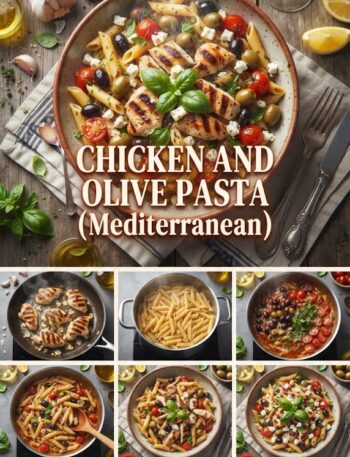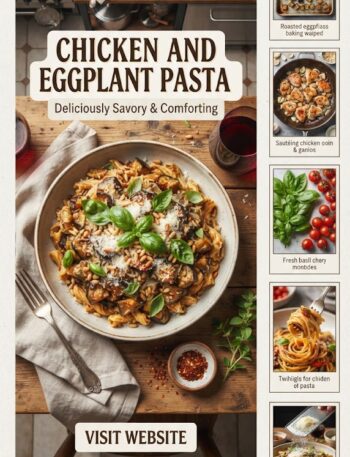
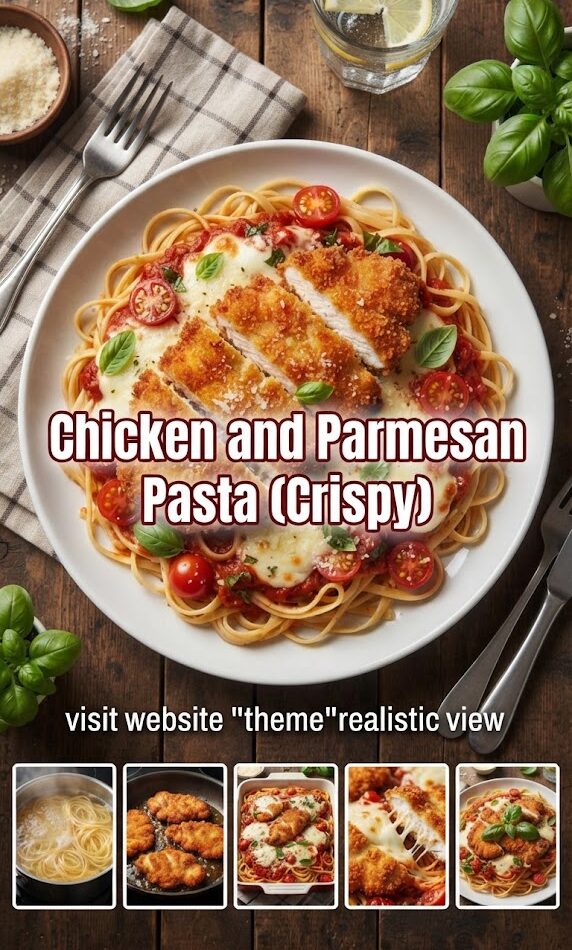
There is a singular, universal joy found in the contrast of textures: the shattering crunch of golden-brown breading followed by the silky, velvet embrace of a cream-laden pasta sauce. When we talk about comfort food, many dishes vie for the crown, but few hold the throne as securely as Crispy Chicken and Parmesan Pasta.
This isn’t just a meal; it’s a culinary experience that balances the rustic charm of Italian tradition with the indulgent satisfaction of a modern American bistro favorite. Whether you are looking to impress guests at a dinner party or seeking the ultimate “hug in a bowl” after a long week, mastering this dish is a rite of passage for any home cook.
In this comprehensive guide, we will dive deep into the mechanics of the perfect crunch, the chemistry of a stable Parmesan sauce, and the nuances that separate a “good” pasta from a “legendary” one.
The Anatomy of the Dish: Why It Works
Before we pick up a skillet, we must understand the three pillars of this dish:
- The Protein (The Crunch): Traditionally, chicken breast is the star. It must be pounded thin for even cooking and coated in a multi-stage breading process to achieve that signature “shatter” when bitten.
- The Starch (The Canvas): The pasta serves as the foundation. It isn’t just a side; it’s a vehicle for the sauce. Choosing the right shape is paramount to ensuring every bite is coated.
- The Sauce (The Soul): A true Parmesan sauce is an emulsion of fat, cheese, and liquid. It should be rich, nutty, and salty, clinging to the pasta without becoming a clumpy mess.
The Secret to the Ultimate Crispy Chicken
The “Crispy” in Crispy Chicken and Parmesan Pasta is the most difficult element to get right. If you’ve ever had breading that falls off or turns soggy under the sauce, you know the frustration. Here is how to ensure a professional-grade crust.
1. The Preparation: Pounding and Brining
Consistency is the enemy of uneven cooking. Chicken breasts are naturally tapered. If you cook them as-is, the thin end will be dry by the time the thick end is safe to eat.
- The Technique: Place the chicken between two sheets of plastic wrap. Using a meat mallet or a heavy rolling pin, pound the meat until it is an even half-inch thickness.
- The Benefit: This tenderizes the muscle fibers and ensures the chicken cooks through in the same amount of time it takes for the breading to turn golden brown.
2. The Three-Station Dredge
Do not skip steps here. Each layer serves a chemical purpose.
- Station 1: Seasoned Flour. The flour absorbs surface moisture, allowing the egg to stick. Pro Tip: Season your flour with garlic powder, onion powder, salt, and black pepper.
- Station 2: The Egg Wash. This acts as the glue. Beat the eggs thoroughly with a splash of water or heavy cream to thin the proteins slightly.
- Station 3: The Breadcrumbs. For the ultimate “Crispy” result, use a 50/50 mix of Panko (Japanese breadcrumbs) and Fine Italian Breadcrumbs. Panko provides the jagged surface area for crunch, while fine crumbs fill the gaps for total coverage.
3. The Golden Rule of Frying
You don’t need a deep fryer, but you do need enough oil. Use a neutral oil with a high smoke point (Canola, Grapeseed, or Avocado oil).
- Temperature Matters: Aim for 350°F (175°C). Too cold, and the breading soaks up oil and becomes greasy. Too hot, and the outside burns before the chicken is cooked.
- The Sizzle Test: If you don’t have a thermometer, drop a single breadcrumb into the oil. If it sizzles and dances immediately, you’re ready.
Selecting the Right Pasta: Shape and Texture
Not all pasta is created equal. When dealing with a heavy, creamy Parmesan sauce, you need a shape that can hold its own.
- Fettuccine or Linguine: The classic choice. The wide surface area allows the sauce to coat the strands evenly.
- Penne Rigate: The ridges (rigate) on the outside and the hollow center act like a reservoir for the sauce.
- Pappardelle: If you want a more luxurious, rustic feel, these wide ribbons are excellent for “nesting” the crispy chicken on top.
- Cavatappi: The corkscrew shape provides a fun texture that contrasts well with the flat pieces of chicken.
The “Al Dente” Mandate: Always cook your pasta in “water as salty as the sea.” Drain it 1-2 minutes before the package directions suggest. The pasta will finish cooking in the sauce, absorbing the flavor rather than just being coated by it.
The Science of a Flawless Parmesan Sauce
The sauce is where many home cooks struggle. If your sauce separates or feels “gritty,” it’s usually a temperature or ingredient issue.
The Cheese: Real vs. Shaker
If there is one rule to live by, it is this: Grate your own cheese. Pre-shredded cheese in bags is coated with potato starch or cellulose to prevent clumping. These anti-caking agents prevent the cheese from melting into a smooth emulsion, leading to a grainy sauce. Use Parmigiano-Reggiano (the “King of Cheeses”) for a complex, nutty flavor profile.
The Emulsion
A great Parmesan sauce is often a variation of an Alfredo or a Mornay.
- The Base: Start with sautéed garlic in butter.
- The Liquid: Heavy cream is the standard for indulgence, but a splash of dry white wine (like Pinot Grigio) added first can cut through the richness with necessary acidity.
- The Magic Ingredient: Pasta Water. Never dump all your pasta water down the drain. This starchy liquid is liquid gold. Adding a half-cup to your sauce helps bind the fat from the cheese and butter to the water-based cream, creating a glossy, restaurant-quality finish.
Recipe: The Definitive Crispy Chicken and Parmesan Pasta
Yields: 4 Servings Prep time: 20 minutes Cook time: 25 minutes
Ingredients
For the Crispy Chicken:
- 2 large boneless, skinless chicken breasts (halved lengthwise)
- 1 cup all-purpose flour
- 2 large eggs
- 1 cup Panko breadcrumbs
- 1/2 cup finely grated Parmesan cheese (for the crust)
- 1 tsp smoked paprika
- 1 tsp garlic powder
- Salt and freshly cracked black pepper
- Neutral oil for shallow frying
For the Pasta and Sauce:
- 1 lb (500g) Fettuccine or Penne
- 4 tbsp unsalted butter
- 3 cloves garlic, minced
- 1.5 cups heavy cream
- 1.5 cups freshly grated Parmigiano-Reggiano
- 1/2 tsp nutmeg (optional, for depth)
- Fresh parsley, chopped (for garnish)
- Red pepper flakes (optional, for heat)
Step-by-Step Instructions
Step 1: Prep the Chicken
Pound the chicken breasts to an even thickness. Season both sides with salt and pepper. Set up your three stations: flour in one shallow dish, beaten eggs in the second, and a mixture of Panko, grated Parmesan, paprika, and garlic powder in the third.
Step 2: The Breading Process
Dredge each piece of chicken in flour (shake off excess), dip in the egg wash, and then press firmly into the breadcrumb mixture. Ensure every nook and cranny is covered. Let the breaded chicken rest on a wire rack for 5 minutes—this helps the breading adhere so it doesn’t fall off during frying.
Step 3: Fry to Perfection
Heat about 1/2 inch of oil in a large skillet over medium-high heat. Once hot, add the chicken. Fry for 4-5 minutes per side until the internal temperature reaches 165°F (74°C) and the crust is a deep golden brown. Move to a wire rack (not a paper towel) to keep the bottom from getting soggy.
Step 4: Boil the Pasta
In a large pot of boiling salted water, cook your pasta until just shy of al dente. Reserve at least 1 cup of the starchy pasta water before draining.
Step 5: Build the Sauce
In the same skillet (wiped clean) or a clean pan, melt the butter over medium heat. Add the minced garlic and sauté for 1 minute until fragrant but not browned. Pour in the heavy cream and bring to a gentle simmer.
Step 6: The Meltdown
Lower the heat to medium-low. Gradually whisk in the grated Parmesan cheese, one handful at a time, until smooth. Season with a pinch of nutmeg and pepper. If the sauce is too thick, whisk in a few tablespoons of the reserved pasta water.
Step 7: Combine
Toss the drained pasta into the sauce. Stir constantly for 1-2 minutes over low heat. The pasta will finish cooking, and the sauce will thicken and cling to the strands.
Step 8: Assemble and Serve
Slice the crispy chicken into strips. Nest a generous portion of pasta in a bowl, top with the sliced chicken, and garnish with fresh parsley and an extra sprinkle of Parmesan.
Pro-Tips for Success
The Temperature “Sweet Spot”
When adding cheese to your sauce, the temperature is critical. If the cream is boiling, the proteins in the cheese will tighten and clump, causing the oil to separate. Always lower the heat before adding the Parmesan.
The Wire Rack Secret
Never rest fried chicken on a flat plate or a paper towel for more than a minute. Steam will build up underneath the chicken, softening the crust you worked so hard to create. A wire cooling rack allows air to circulate around the entire piece of meat, keeping it crispy on all sides.
Achieving “Bright” Flavors
Because this dish is very rich (cream, butter, cheese, fried chicken), it can sometimes feel “heavy” on the palate. To brighten it up, add a squeeze of fresh lemon juice to the sauce at the very end or zest some lemon over the finished dish. The acidity cuts through the fat and wakes up the flavors.
Flavor Variations to Try
Once you have mastered the base recipe, you can experiment with these popular twists:
1. The Spicy “Kick”
Add 1 tablespoon of Calabrian chili paste or a teaspoon of red pepper flakes to the garlic and butter stage. The heat balances the richness of the Parmesan beautifully.
2. The Mushroom Infusion
Sauté sliced cremini or shiitake mushrooms in the butter before adding the cream. The earthy umami of the mushrooms complements the nuttiness of the Parmigiano-Reggiano.
3. The Pesto Swirl
For a burst of herbal freshness, swirl 2 tablespoons of basil pesto into the finished sauce before tossing it with the pasta. This turns the sauce a vibrant green and adds a deep garlic-basil aroma.
4. Spinach and Sun-Dried Tomato
Add a handful of baby spinach and chopped sun-dried tomatoes to the simmering cream. The spinach provides color and nutrients, while the tomatoes add a sweet-tart chewiness.
Nutrition and Healthier Alternatives
Let’s be honest: Crispy Chicken and Parmesan Pasta is an indulgence. However, there are ways to lighten it up without sacrificing the soul of the dish.
- The Chicken: Instead of shallow frying, you can Air Fry the breaded chicken. Spray it lightly with olive oil and cook at 400°F for 12-15 minutes. You still get a fantastic crunch with significantly less fat.
- The Sauce: Swap half of the heavy cream for high-quality chicken bone broth. You will need to use a bit more pasta water and cheese to maintain the thickness, but it reduces the calorie count.
- The Pasta: Use whole-wheat pasta or chickpea-based pasta for added fiber and protein.
- Vegetable “Noodles”: Serve the crispy chicken and sauce over zoodles (zucchini noodles) or spaghetti squash for a lower-carb experience.
Pairing the Perfect Wine
When serving a dish this rich and textured, your wine choice should provide a counterpoint.
- White Wine (The Classic Choice): A buttery Chardonnay from California or Burgundy mirrors the creaminess of the sauce. Alternatively, a high-acid Sauvignon Blanc or Pinot Grigio can act as a palate cleanser, cutting through the fat.
- Red Wine (The Bold Choice): While white wine is traditional for cream sauces, a light-bodied red like Pinot Noir or a Barbera works well. These wines have low tannins and bright acidity that won’t overwhelm the delicate flavor of the chicken.
- Sparkling: If you really want to elevate the meal, a Brut Champagne or Franciacorta is incredible. The bubbles scrub the palate, making every bite of crispy chicken feel like the first.
Common Mistakes and How to Fix Them
“My sauce is too thin!”
The Fix: Don’t panic. Let it simmer for another 2-3 minutes over medium-low heat. If it’s still thin, add another handful of grated Parmesan. The cheese is the primary thickening agent. Avoid adding flour or cornstarch at the end, as it can make the sauce taste “raw.”
“The breading fell off my chicken!”
The Fix: This usually happens if the chicken was wet when you started. Next time, pat the chicken extremely dry with paper towels before the flour dredge. Also, ensure you aren’t flipping the chicken too early in the pan; let the crust set before moving it.
“My pasta is gummy.”
The Fix: You likely overcooked it in the water. Remember, the pasta continues to cook in the sauce. If it’s already overcooked, the only way to save the meal is to serve it immediately. Next time, aim for a “firm to the bite” texture before draining.
The History and Evolution of the Dish
While “Chicken Parmesan” (Pollo alla Parmigiana) is a staple of Italian-American cuisine, the version served over a creamy Parmesan pasta is a more modern evolution.
The original dish, Melanzane alla Parmigiana (Eggplant Parmesan), originates from Southern Italy. When Italian immigrants came to the United States in the late 19th and early 20th centuries, they found that meat was much more affordable than it had been in the Old Country. They substituted chicken or veal for eggplant, and the iconic red-sauce dish was born.
The transition from marinara to a white Parmesan sauce reflects the influence of Northern Italian flavors (where butter and cream are more common) merging with the American love for Alfredo-style comfort. Today, this “Crispy” version represents a fusion of styles—the crunch of a Southern fried cutlet meets the refined elegance of a Roman pasta.
Hosting a Dinner Party: Planning Ahead
If you are making this for a crowd, timing is everything. You don’t want to be stuck at the stove while your guests are enjoying appetizers.
- Prep the Chicken Early: You can bread the chicken up to 4 hours in advance. Keep it on a wire rack in the refrigerator. This actually helps the breading stick better!
- Grate the Cheese: Do this hours before. Store it in an airtight container.
- The “Keep Warm” Trick: You can fry the chicken 20 minutes before serving. Keep it in a 200°F oven on a wire rack. It will stay crispy and hot without overcooking.
- Cook the Sauce Last: The sauce takes only 5-7 minutes. Once the pasta is in the water, start the sauce. Everything will come together at the perfect moment.
Frequently Asked Questions (FAQs)
Can I use chicken thighs instead of breasts?
Yes! Chicken thighs are more forgiving and remain juicier. However, they take slightly longer to cook. Make sure they are boneless and skinless, and pound them to a uniform thickness just like the breasts.
How do I reheat leftovers without the chicken getting soggy?
Avoid the microwave! To reheat, place the pasta in a skillet with a splash of milk or water to loosen the sauce. For the chicken, place it in an air fryer at 350°F for 3-4 minutes or in a toaster oven. This will revive the crunch.
Is Parmigiano-Reggiano the same as Parmesan?
In the United States, “Parmesan” is a generic term. Parmigiano-Reggiano is the authentic, DOP-protected cheese from Italy. For this recipe, the authentic stuff is highly recommended because it melts better and has a significantly deeper flavor.
Can I make this gluten-free?
Absolutely. Use a gluten-free all-purpose flour blend for the dredge and gluten-free Panko or crushed pork rinds for the breading. Serve it over your favorite gluten-free pasta or zoodles.
Conclusion: The Ultimate Culinary Reward
The Crispy Chicken and Parmesan Pasta is more than just a recipe; it’s a study in balance. It requires attention to detail—the temperature of the oil, the quality of the cheese, and the timing of the pasta. But when those elements align, the result is a dish that feels both sophisticated and deeply familiar.
By following the techniques outlined in this guide—pounding the meat for evenness, using the three-station dredge, and emulsifying your sauce with pasta water—you are no longer just making dinner. You are creating a masterpiece of texture and taste. So, grab your skillet, grate that block of Parmesan, and get ready to enjoy the most satisfying crunch of your life.
Enjoy your meal!